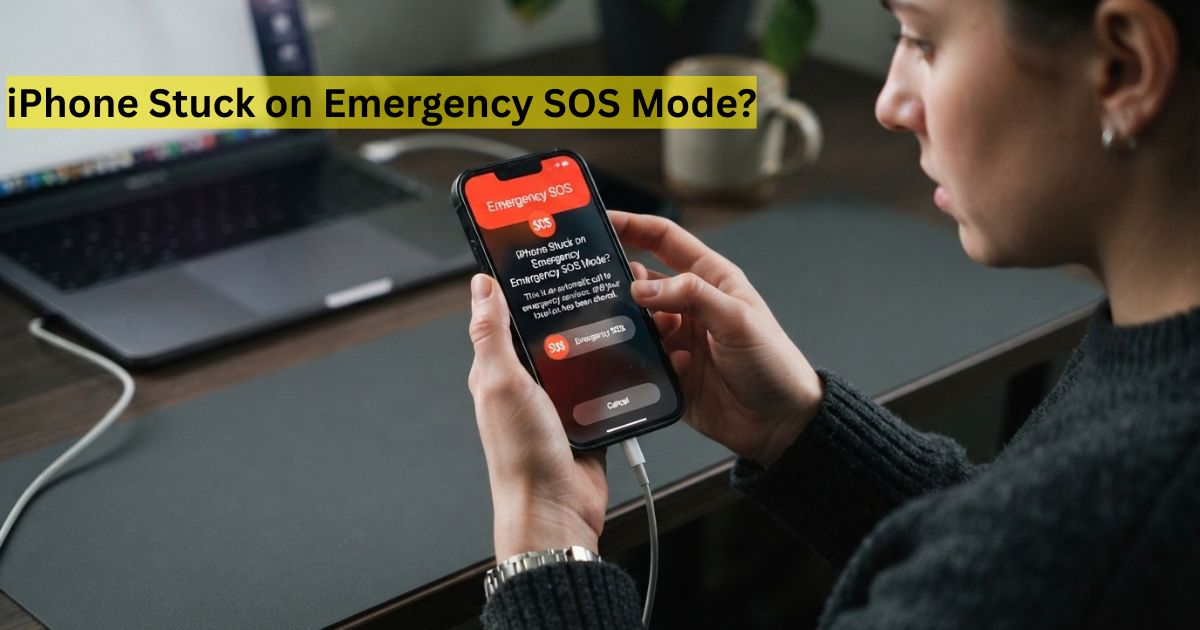
Your iPhone suddenly shows the Emergency SOS screen, and nothing you tap makes it go away. It’s stressful, especially when you never meant to open it.
The good news is that this problem is usually temporary. Most cases come from an accidental button press, a software glitch, or a stuck button. This guide explains why it happens and walks you through seven fixes, from quick and free to more advanced. You’ll also learn how to stop it from happening again.
Why Is My iPhone Stuck on Emergency SOS Mode
Emergency SOS is a safety feature that calls emergency services and alerts your emergency contacts. Because it needs to work fast, the screen can be hard to leave when something goes wrong.
Here are the most common causes:
- Accidental activation. Holding the Side button and a Volume button together starts the SOS countdown. This often happens in a pocket or bag.
- A software freeze. A temporary iOS glitch can stop the screen from closing.
- A failed or interrupted update. Problems during or after an iOS update can affect normal system functions.
- Stuck or pressed buttons. A damaged button, or a tight case pressing on one, can keep triggering SOS.
- Jailbreaking or system changes. Unofficial changes to iOS can make the interface unstable.
- Hardware damage. A drop or liquid exposure can affect the buttons or the display.
Seeing “SOS” in the status bar instead? That is a different problem. “SOS” or “SOS only” at the top of the screen means your iPhone can’t reach your carrier network, though it can still place emergency calls. Try these quick fixes:
- Turn Airplane Mode on, wait 15 seconds, then turn it off.
- Restart your iPhone.
- Check for a carrier settings update in Settings > General > About.
- Remove and reinsert your SIM card, or re-enable your eSIM.
- Go to Settings > General > Transfer or Reset iPhone > Reset > Reset Network Settings.
If your problem is the full Emergency SOS screen, keep reading.
Related Post: Everything you need to know about the West Virginia State Fair
7 Ways to Fix iPhone Stuck on Emergency SOS Mode
Start with Way 1 and move down the list. The first few fixes are free, fast, and safe for your data. The later ones take more time and can erase your iPhone if you choose the wrong option.
Way 1. Cancel Emergency SOS If It Is Still Counting Down
Sometimes the phone isn’t frozen at all. The SOS countdown is still running, and the screen is waiting for you to stop it.
- Release the Side button and the Volume button if you are still holding them.
- Tap the Stop option on the screen, then confirm with Stop Calling if asked.
- Wait for the Lock Screen to return, then unlock your iPhone.
Your iPhone may ask for your passcode after an SOS event, even if you normally use Face ID or Touch ID. That is normal and is a security measure.
If the call has already connected, stay on the line. Tell the dispatcher it was accidental. Hanging up without explaining can lead to a callback or a welfare check at your location.
Way 2. Force Restart Your iPhone
A force restart clears many minor iOS glitches. It doesn’t erase your data, and it works even when the screen won’t respond. The button sequence depends on your model.
iPhone 8 and later (including iPhone SE 2nd and 3rd generation):
- Press and quickly release the Volume Up button.
- Press and quickly release the Volume Down button.
- Press and hold the Side button until the Apple logo appears, then release it.
iPhone 7 and 7 Plus: Hold the Volume Down button and the Side button together until you see the Apple logo.
iPhone 6s, iPhone SE (1st generation), and earlier: Hold the Home button and the Side (or Top) button together until you see the Apple logo.
Keep holding the button even if a “slide to power off” screen appears. Only release once the Apple logo shows. When the phone restarts, the SOS screen should be gone.
Way 3. Use iOS Repair Tool – TunesKit iOS System Recovery [No Data Loss]
If a force restart doesn’t help, the problem may sit deeper in iOS. A repair program can reinstall system files without a full restore. TunesKit iOS System Recovery is one example. It’s a third-party desktop tool for Windows and Mac that targets system problems like black screens, Apple logo loops, and a frozen Emergency SOS screen.
Its Standard Repair mode is designed to fix problems without erasing your data. Here is how the process works:
- Install and open TunesKit on your computer, then connect your iPhone with a USB cable.
- Click iOS System Repair, then click Start.
- Choose Standard Repair. Avoid Deep Repair unless Standard fails, because Deep Repair can erase data.
- Check that the detected device details are correct, then download the matching firmware package.
- Click Start Standard Repair and keep your iPhone connected until it restarts.
A few honest notes before you try this. It’s a paid tool, and Apple’s own free methods (Ways 5 and 6) can also reinstall iOS. It’s best to try those first if you’re comfortable with them. Whichever route you take, back up your iPhone beforehand if you can. If you use any third-party software, download it only from the developer’s official website.
Way 4. Check the Side and Volume Buttons
If the SOS screen keeps coming back, the buttons themselves may be the cause. A button that is stuck, dirty, or slightly pressed can keep triggering Emergency SOS.
- Remove your phone case. Some cases press against the Side or Volume buttons.
- Press the Side, Volume Up, and Volume Down buttons several times.
- Check that each button moves freely and springs back.
- Gently clean around the button edges with a soft, dry brush or a clean cloth. Don’t use sharp tools or liquids.
- Restart your iPhone and see if SOS appears again.
A button that feels mushy, sticks down, or doesn’t return needs professional repair. Software fixes can’t solve a hardware fault.
Way 5. Update iOS to the Latest Version
Software bugs can cause interface freezes, and Apple often fixes them in updates. Updating iOS is a simple way to remove the bug behind a stuck Emergency SOS screen.
If your iPhone still responds:
- Connect to Wi-Fi and plug in your charger.
- Go to Settings > General > Software Update.
- Tap Download and Install if an update is available.
If your iPhone is frozen, use a computer:
- Connect your iPhone to a Mac or Windows PC with a USB cable.
- On a Mac, open Finder and select your iPhone in the sidebar. On Windows, use the Apple Devices app (or iTunes on older setups).
- Click Check for Update, then choose Update.
An update keeps your personal data in place. Make sure the battery has enough charge before you begin.
Way 6. Update or Restore iPhone in Recovery Mode
Recovery Mode lets your computer reinstall iOS when the phone can’t start normally. Use it when the earlier fixes have failed.
- Connect your iPhone to your computer and open Finder (Mac) or the Apple Devices app (Windows).
- Put your iPhone in Recovery Mode:
- iPhone 8 and later: Press and release Volume Up, press and release Volume Down, then hold the Side button until the Recovery Mode screen appears.
- iPhone 7 and 7 Plus: Hold the Side button and Volume Down together until the Recovery Mode screen appears.
- iPhone 6s and earlier: Hold the Home button and the Side (or Top) button together until the Recovery Mode screen appears.
- When your computer offers Update or Restore, choose Update first. This reinstalls iOS without erasing your data.
- If the problem continues, repeat the steps and choose Restore.
Warning: Restore erases everything on your iPhone. Only use it if you have a recent backup, or if you accept losing the data. If the process takes more than 15 minutes, your iPhone may exit Recovery Mode. Just repeat the steps.
Way 7. Contact Apple Support
If your iPhone still returns to the SOS screen after every software fix, the cause is probably hardware. A damaged Side button, Volume button, or logic board component can send false signals.
Contact Apple Support, or visit an Apple Store or authorized service provider, if any of these apply:
- A button is physically stuck or feels damaged.
- Your iPhone was dropped or exposed to liquid.
- Emergency SOS keeps activating on its own.
- Your iPhone won’t enter Recovery Mode.
- The screen or buttons respond strangely.
Have your iPhone model and iOS version ready, and explain which fixes you have already tried. That helps the technician diagnose the issue faster. Check your warranty or AppleCare status too, since hardware repairs may be covered.
Extra Tips for Emergency SOS Mode on iPhone
Once your iPhone is working again, a few small changes can stop the problem from returning.
- Use a case that fits. A cheap or tight case can press the buttons.
- Keep your iPhone updated. Regular iOS updates fix bugs that affect system features.
- Back up regularly. iCloud or a computer backup makes any repair less stressful.
- Don’t jailbreak. Unofficial changes can cause system instability.
- Know how SOS works. Emergency SOS is a valuable safety tool, so change its settings without turning it off completely.
1. How to Prevent Accidental Emergency SOS Calls
Go to Settings > Emergency SOS, then turn off Call with Hold and Release or Call with 5 Presses, whichever one you trigger by mistake. You can still make emergency calls with the slider.
2. How Do I Cancel an Accidental Emergency SOS Call?
If the countdown is still running, release the buttons and tap Stop. If the call has already connected, stay on the line and tell the dispatcher it was a mistake.
3. Why Does My iPhone Keep Going Into Emergency SOS?
Usually a tight case, a stuck or damaged button, or an iOS bug keeps triggering it. Check the buttons first, then update iOS. If it continues, ask Apple Support to inspect the hardware.
Final Words
An iPhone stuck on Emergency SOS mode is frustrating, but it rarely means serious damage. In most cases, canceling the countdown or force restarting solves it in under a minute.
If it doesn’t, work through the list in order. Check the buttons, update iOS, and try Recovery Mode with the Update option before choosing Restore. A repair tool like TunesKit iOS System Recovery is an extra option if you want a guided repair. If the SOS screen keeps coming back after every software fix, book a hardware check with Apple.
Once you’re back to normal, adjust your Emergency SOS settings, keep your case loose enough for the buttons to move freely, and back up your iPhone from time to time. Those small steps will make this problem much less likely to return.